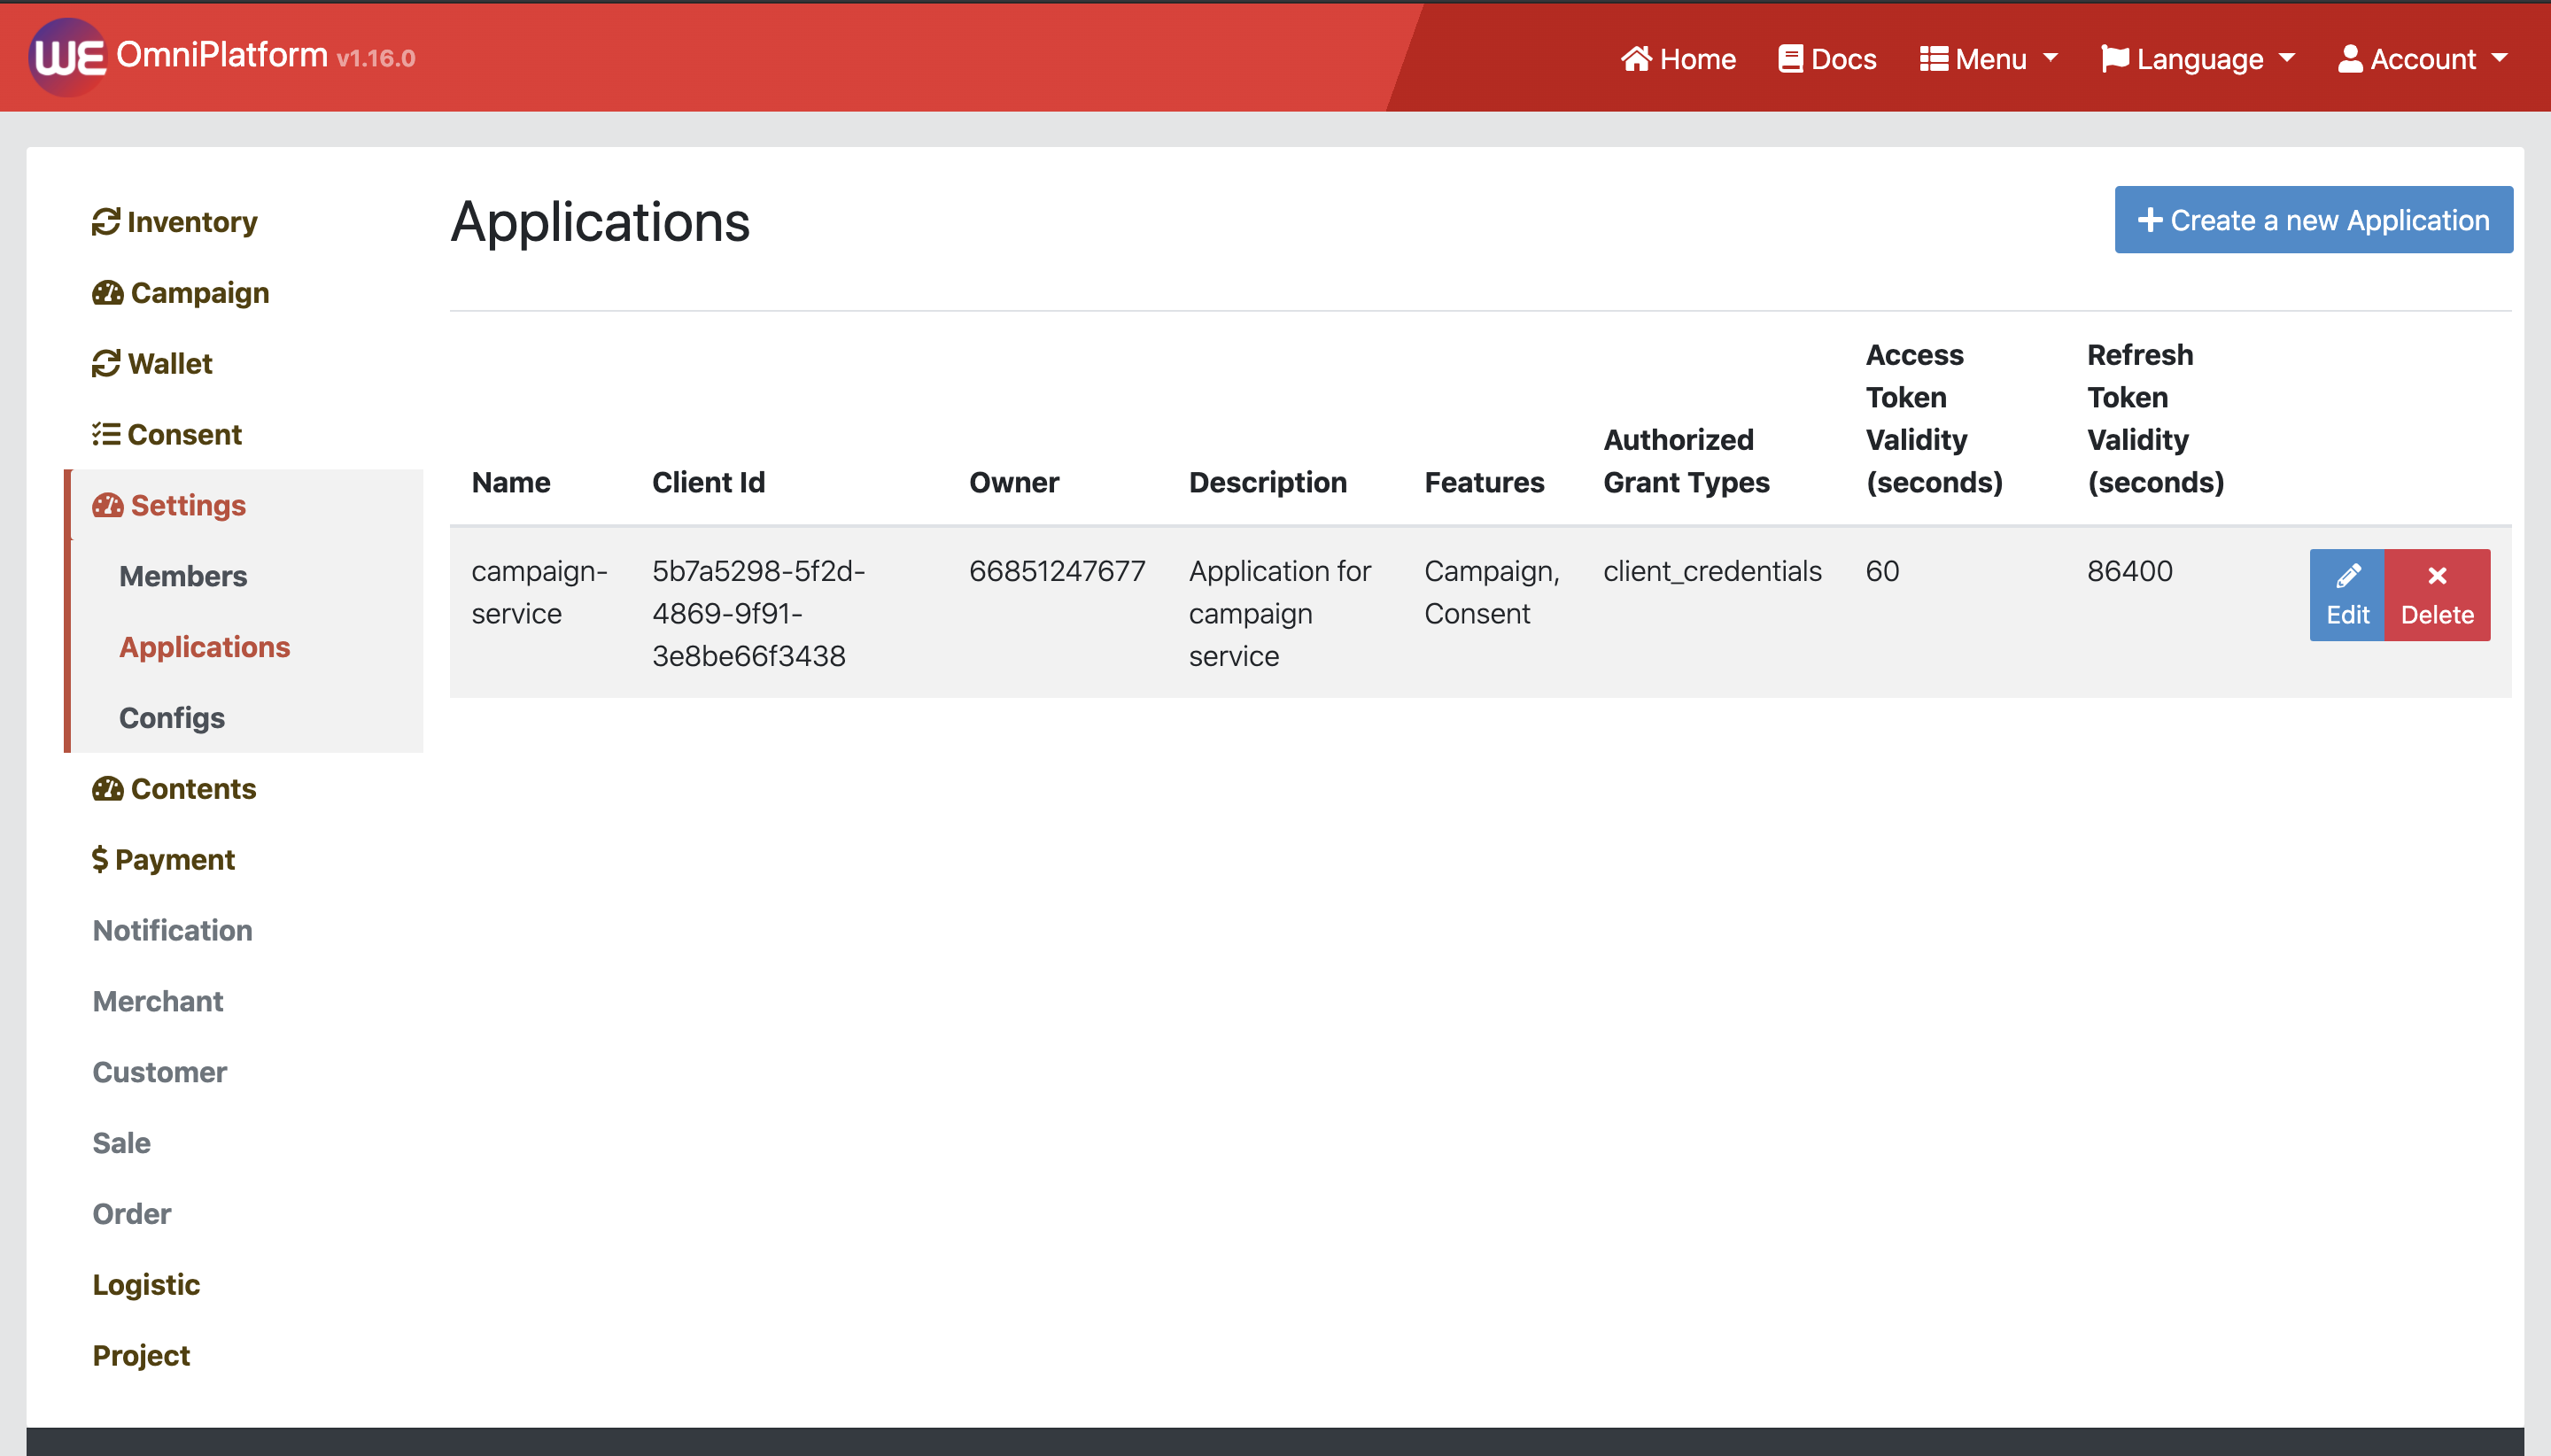
# Applications
# Introduction
Each service across the platform has their specific permissions required; only the application with those permissions will be able to access the service. To acquire those applications, you can create your own one with following simple steps:
# Creating an Application
This process will guide you to creation of an application, if you haven't create any project yet please go to Starter Guide.
After completion of creating a project, you will navigated to project's dashboard where several project management options are available according to your account level
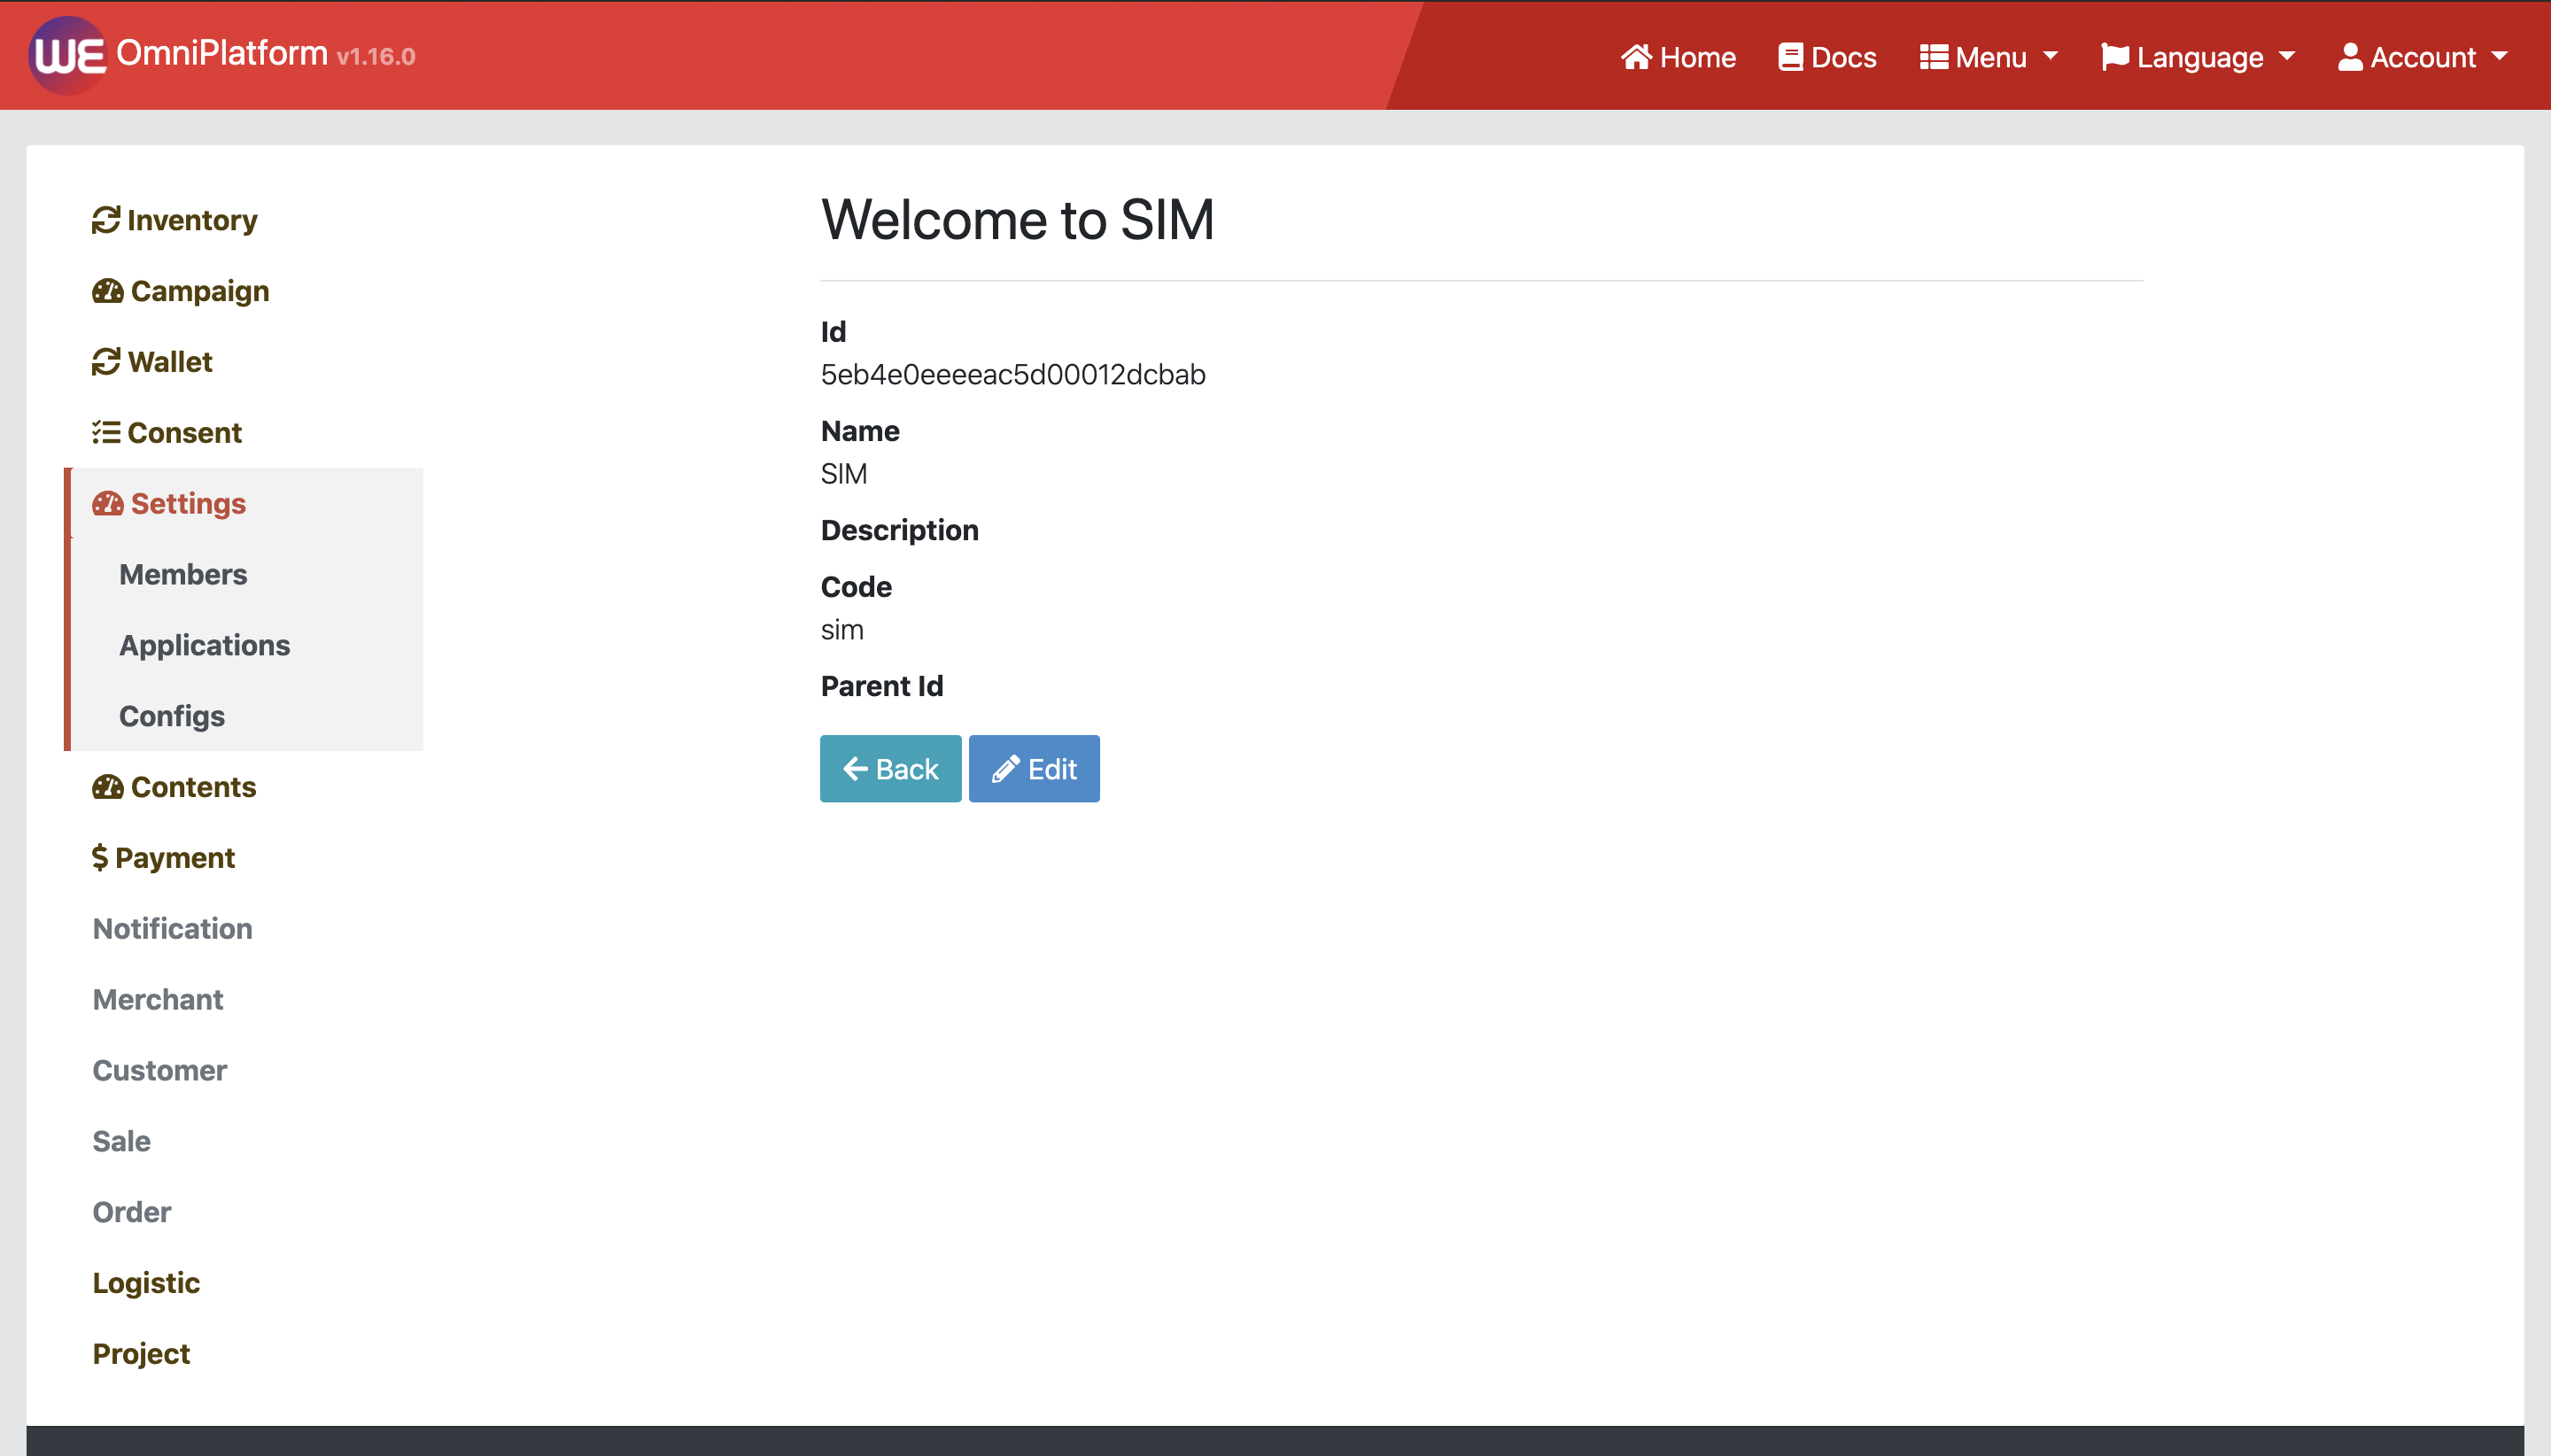
On right side, there are management options. Click at Applications under Settings
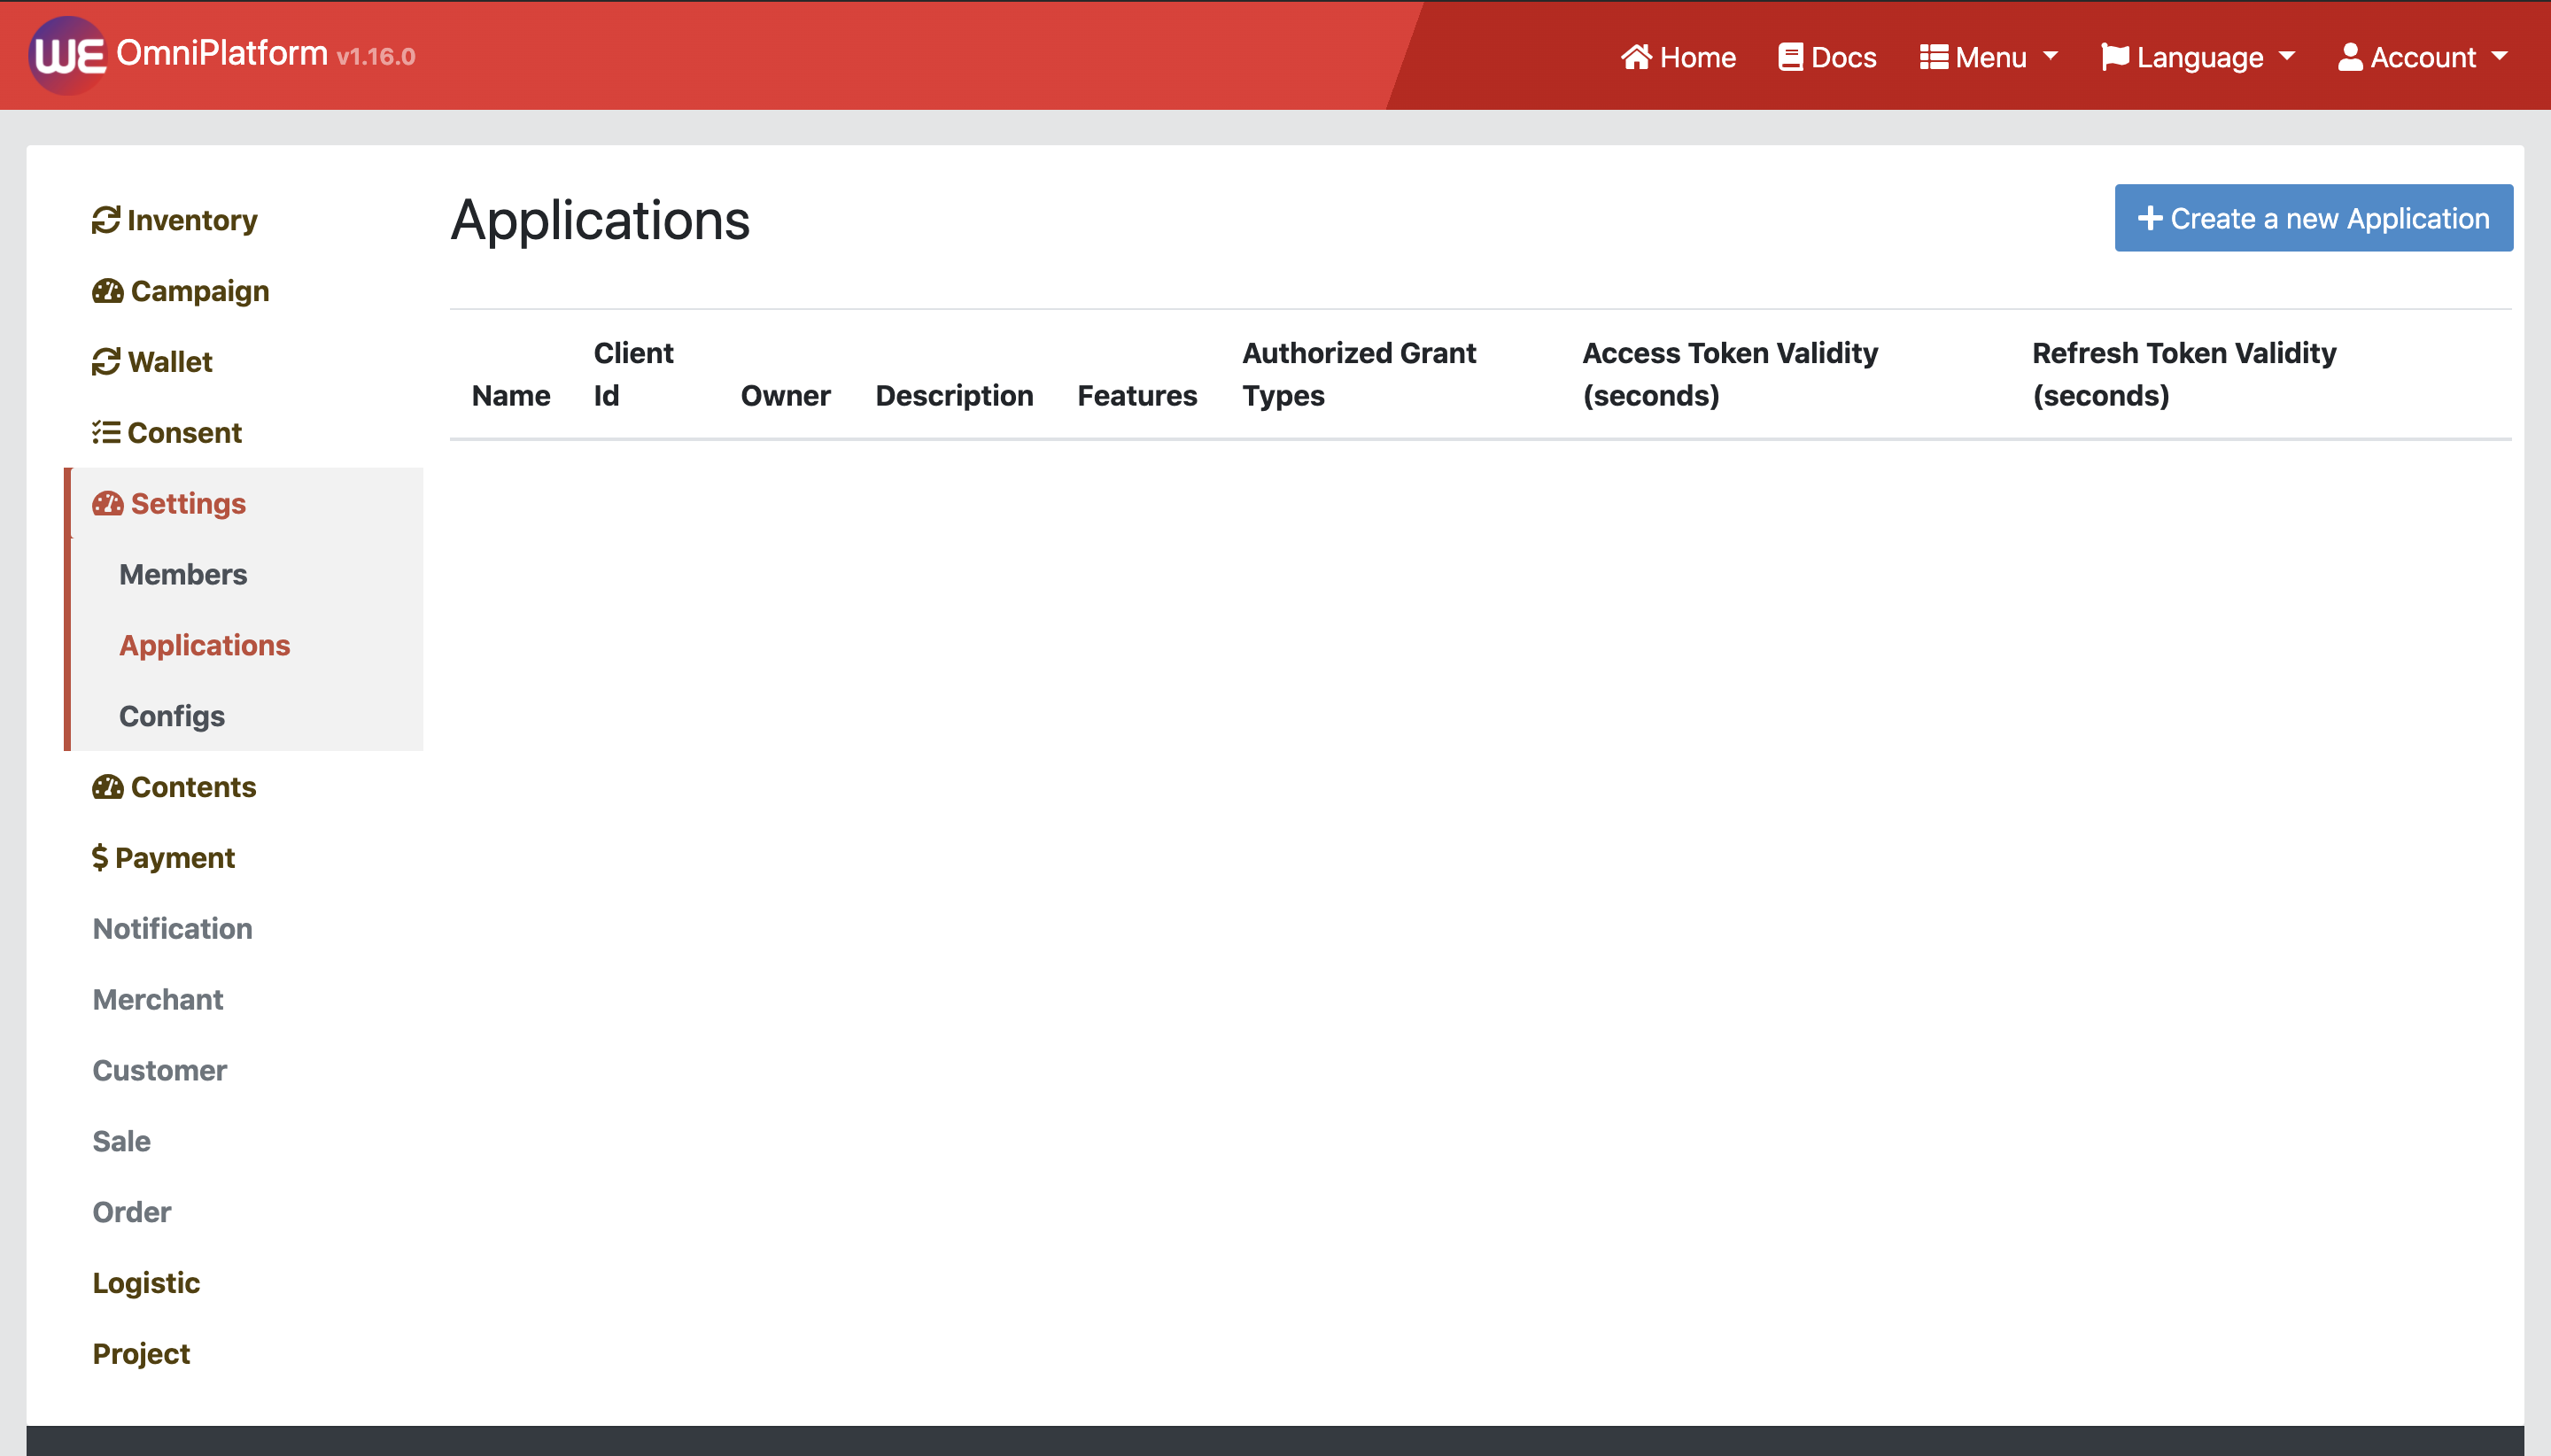
You will be navigated to Application list, then click at top-right button that labeled as plus sign with text "Create a new Application"
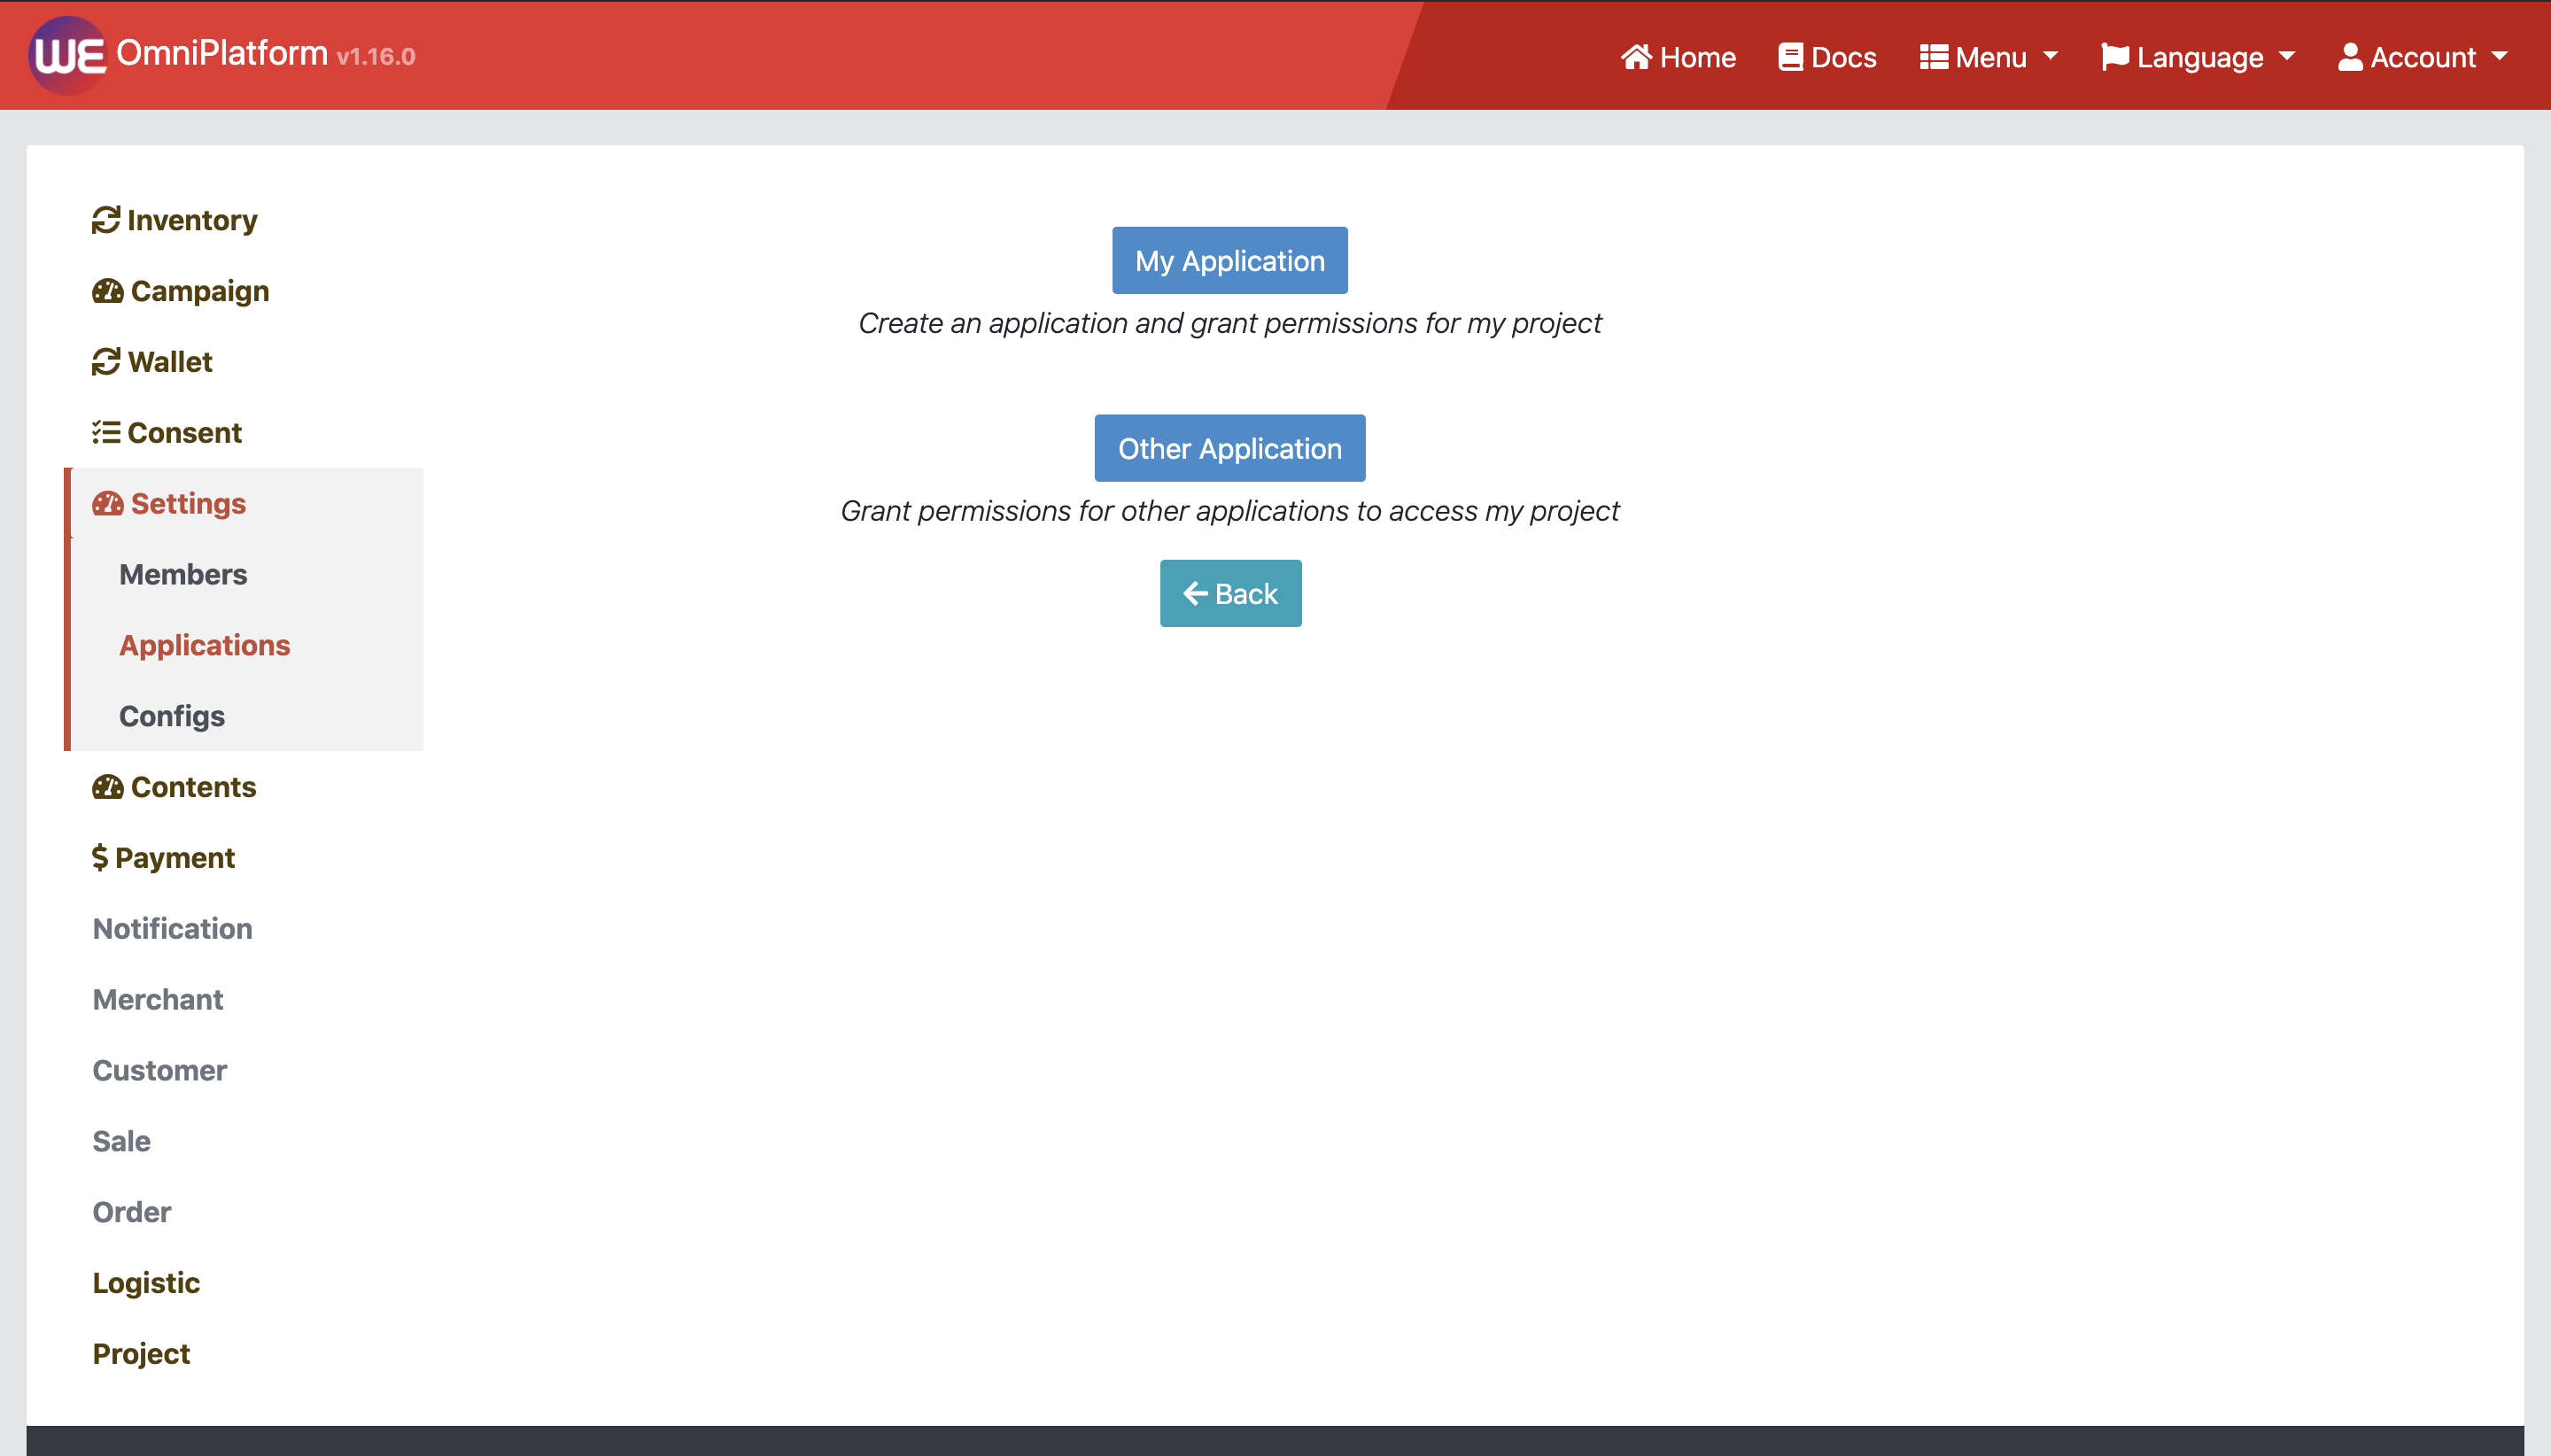
then click the button "My Application" to create an application for your own project.
Fill the creation form. To get Client ID and Client Secret, you can click the button "Generate Client Id and Client Secret". You can also leave them blank, and they will be auto-generated after creation.
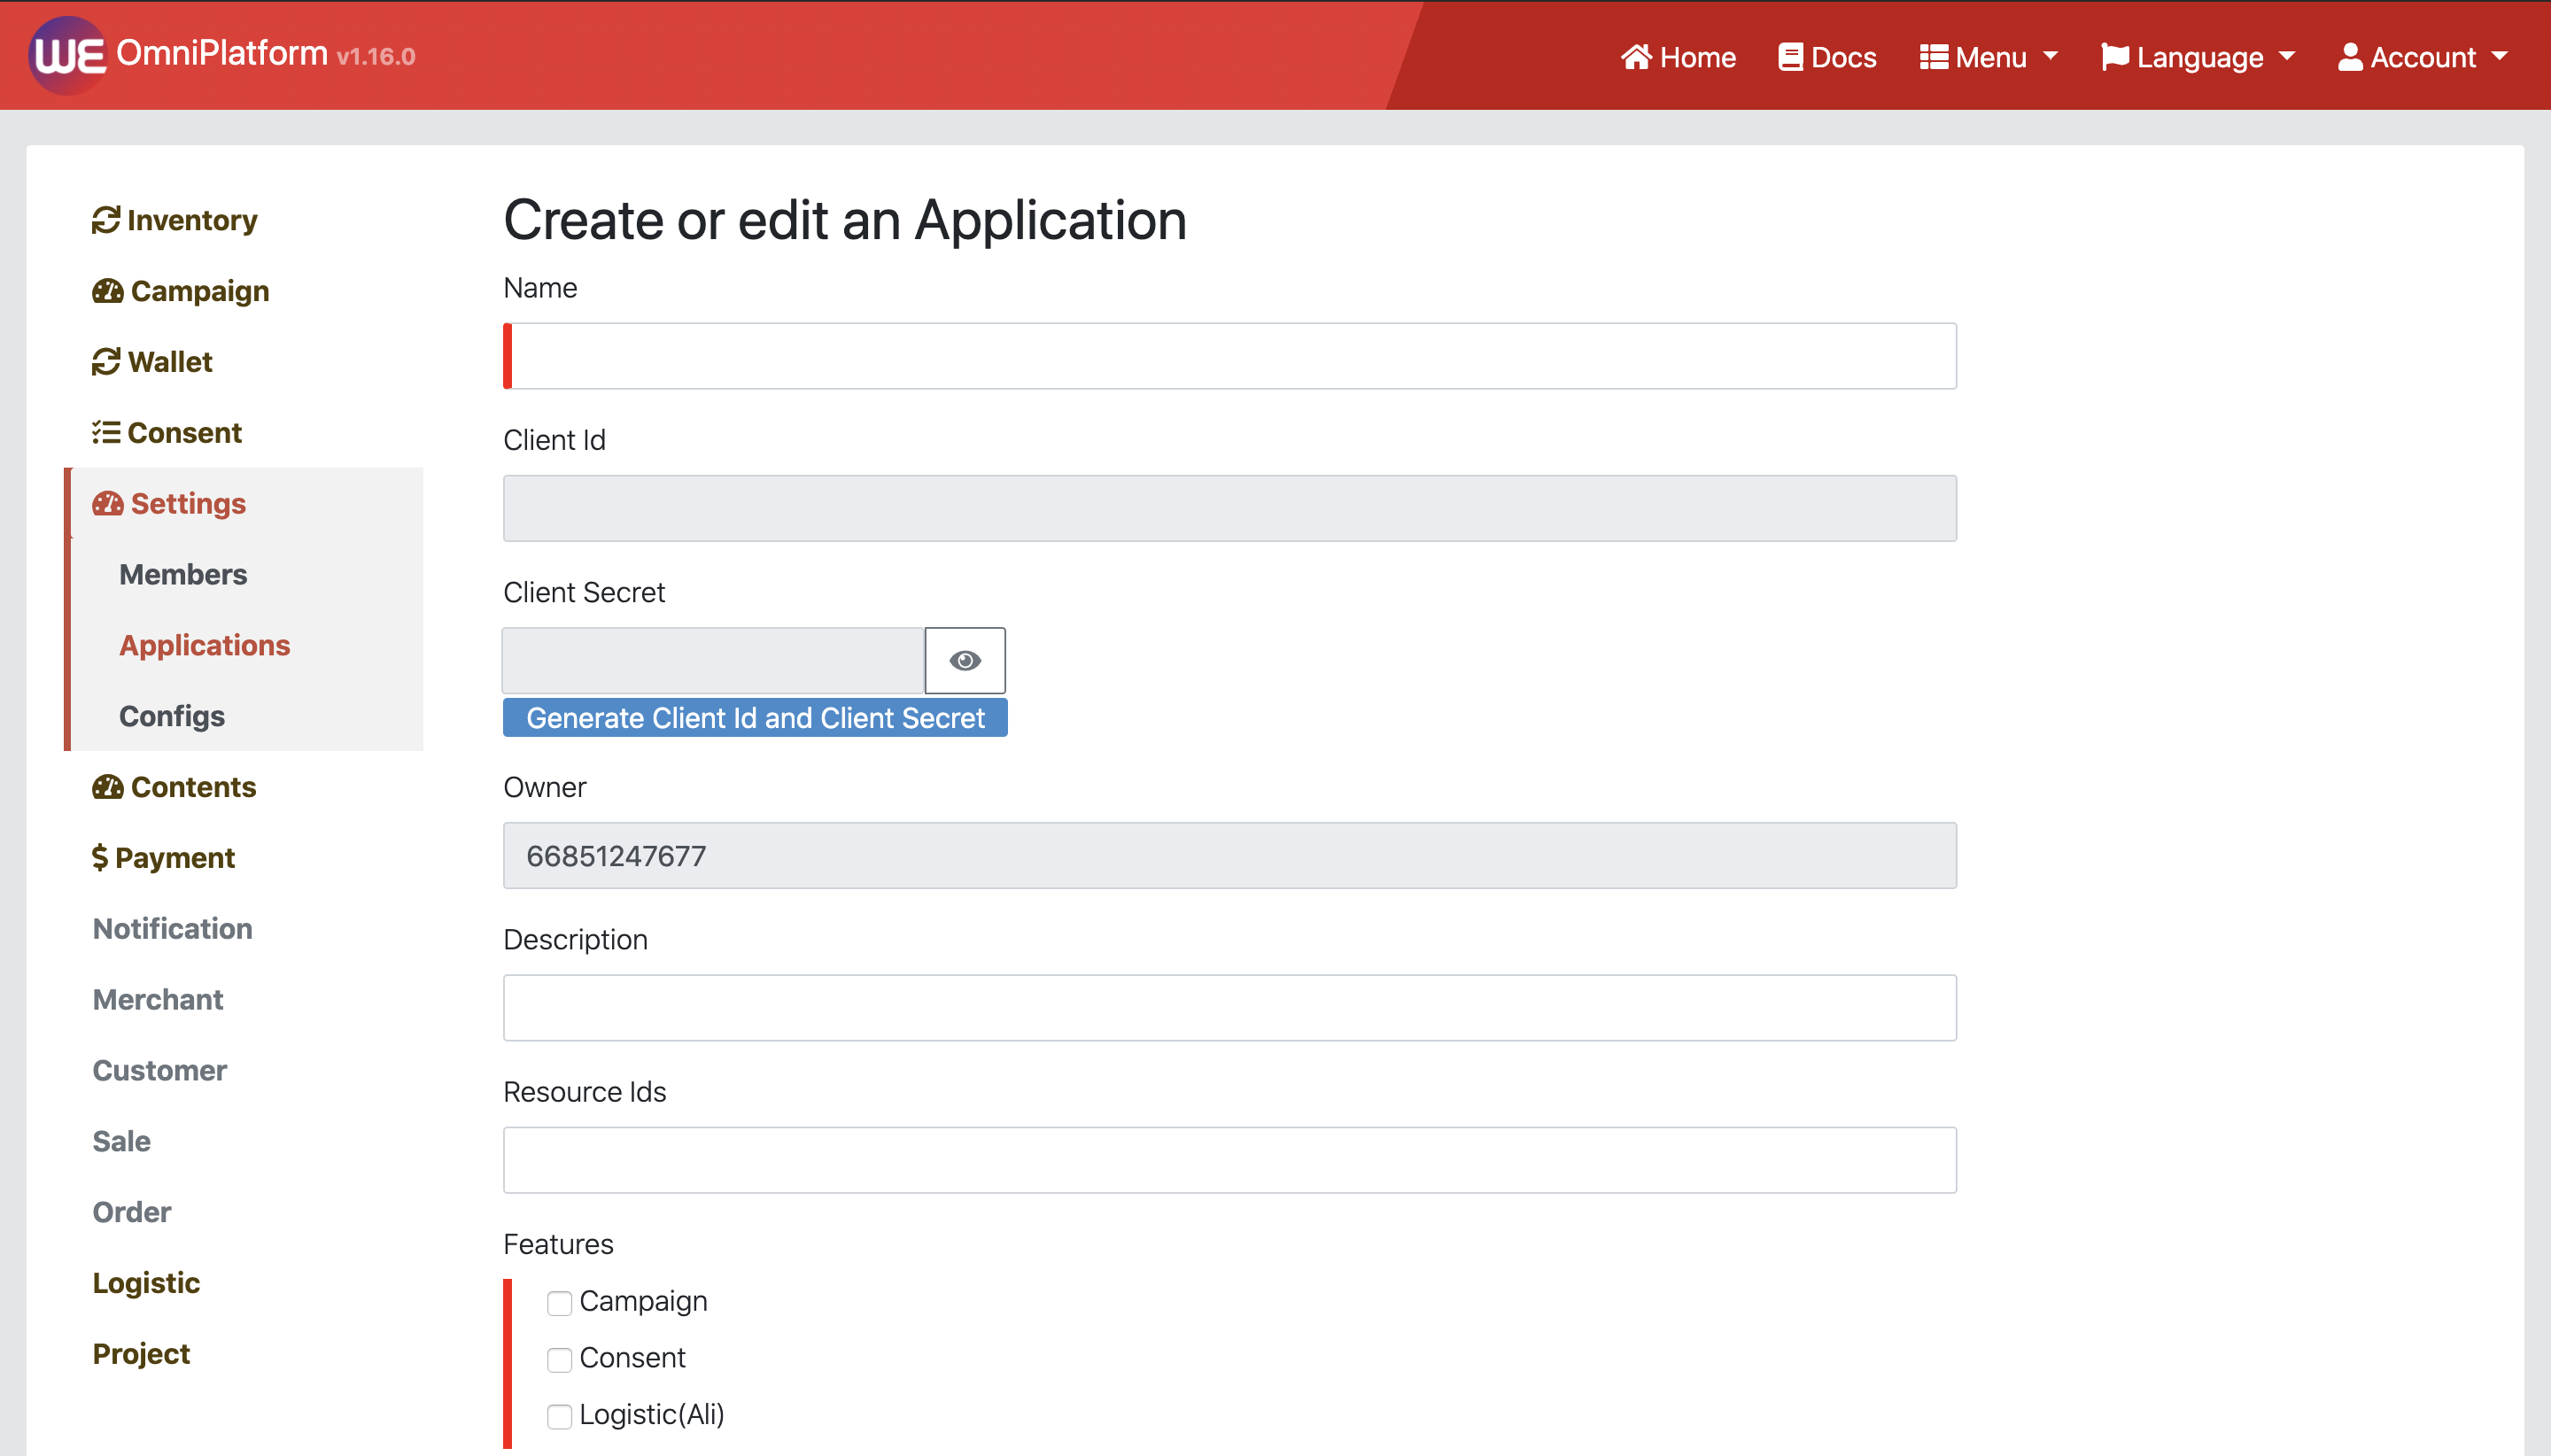
5.1 Once Client ID is assigned, it cannot be changed. Only Client Secret can be regenerated
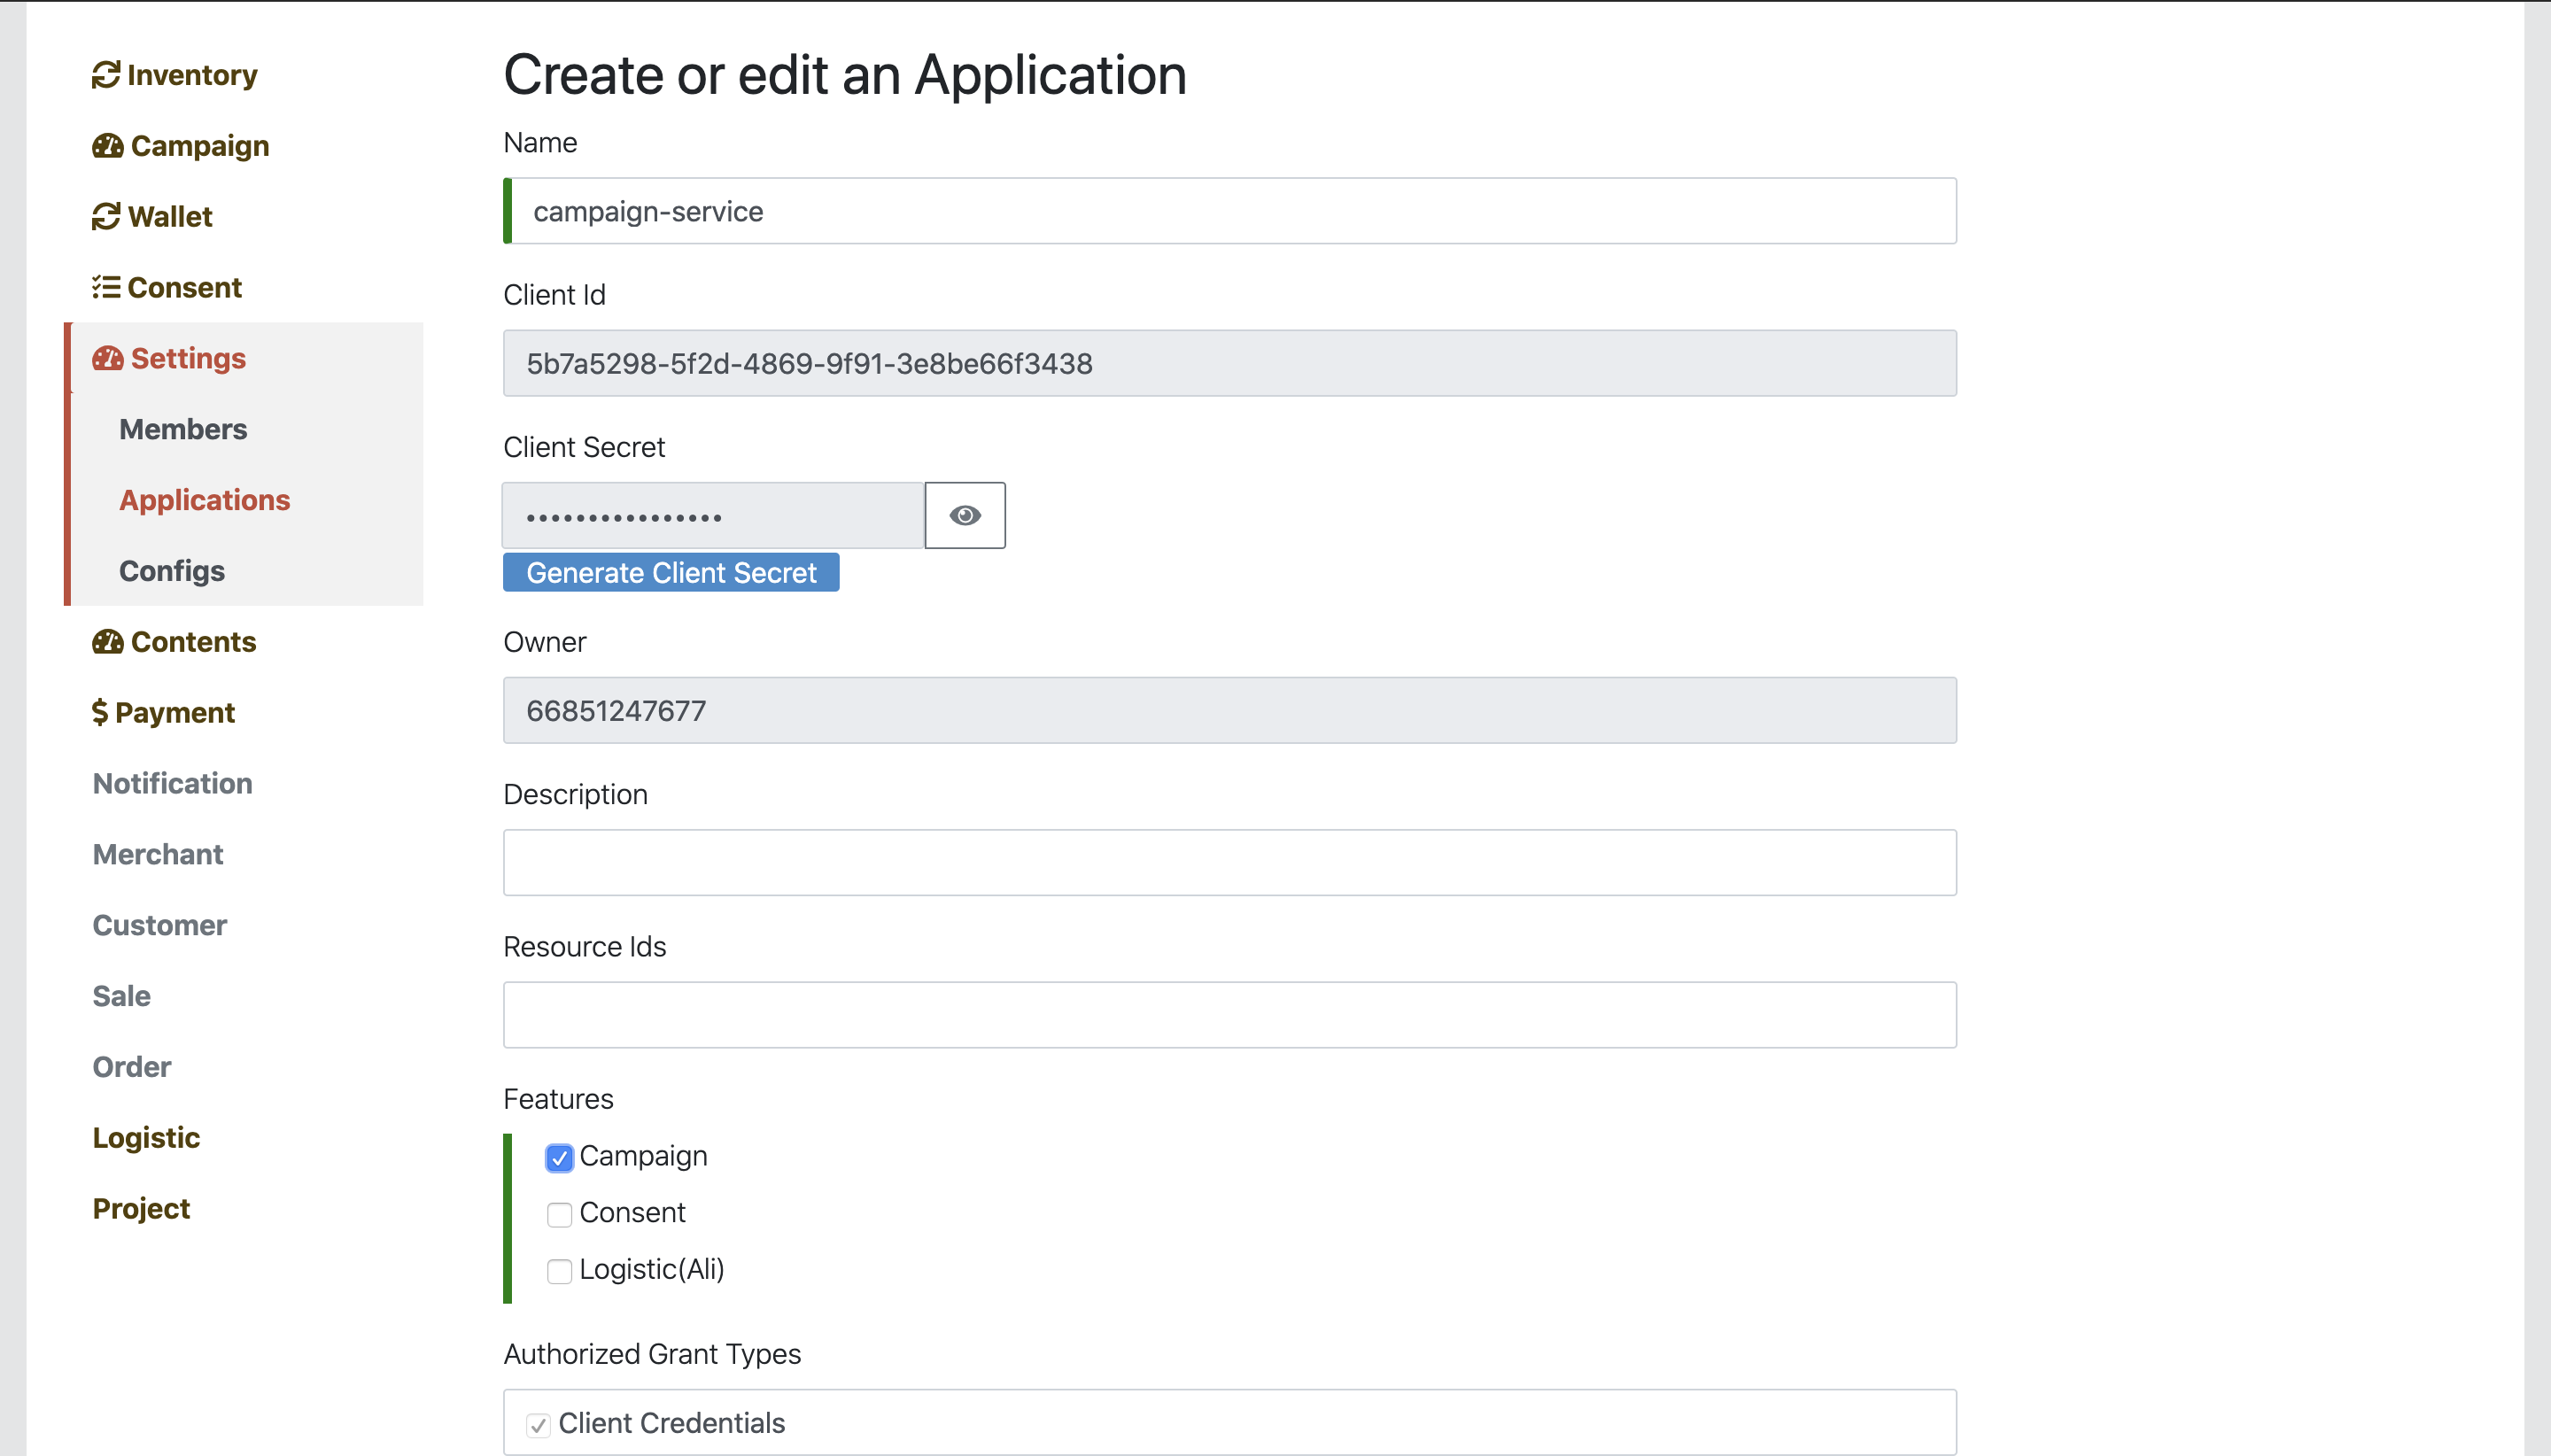
5.2 You can choose which features you want the application to access through

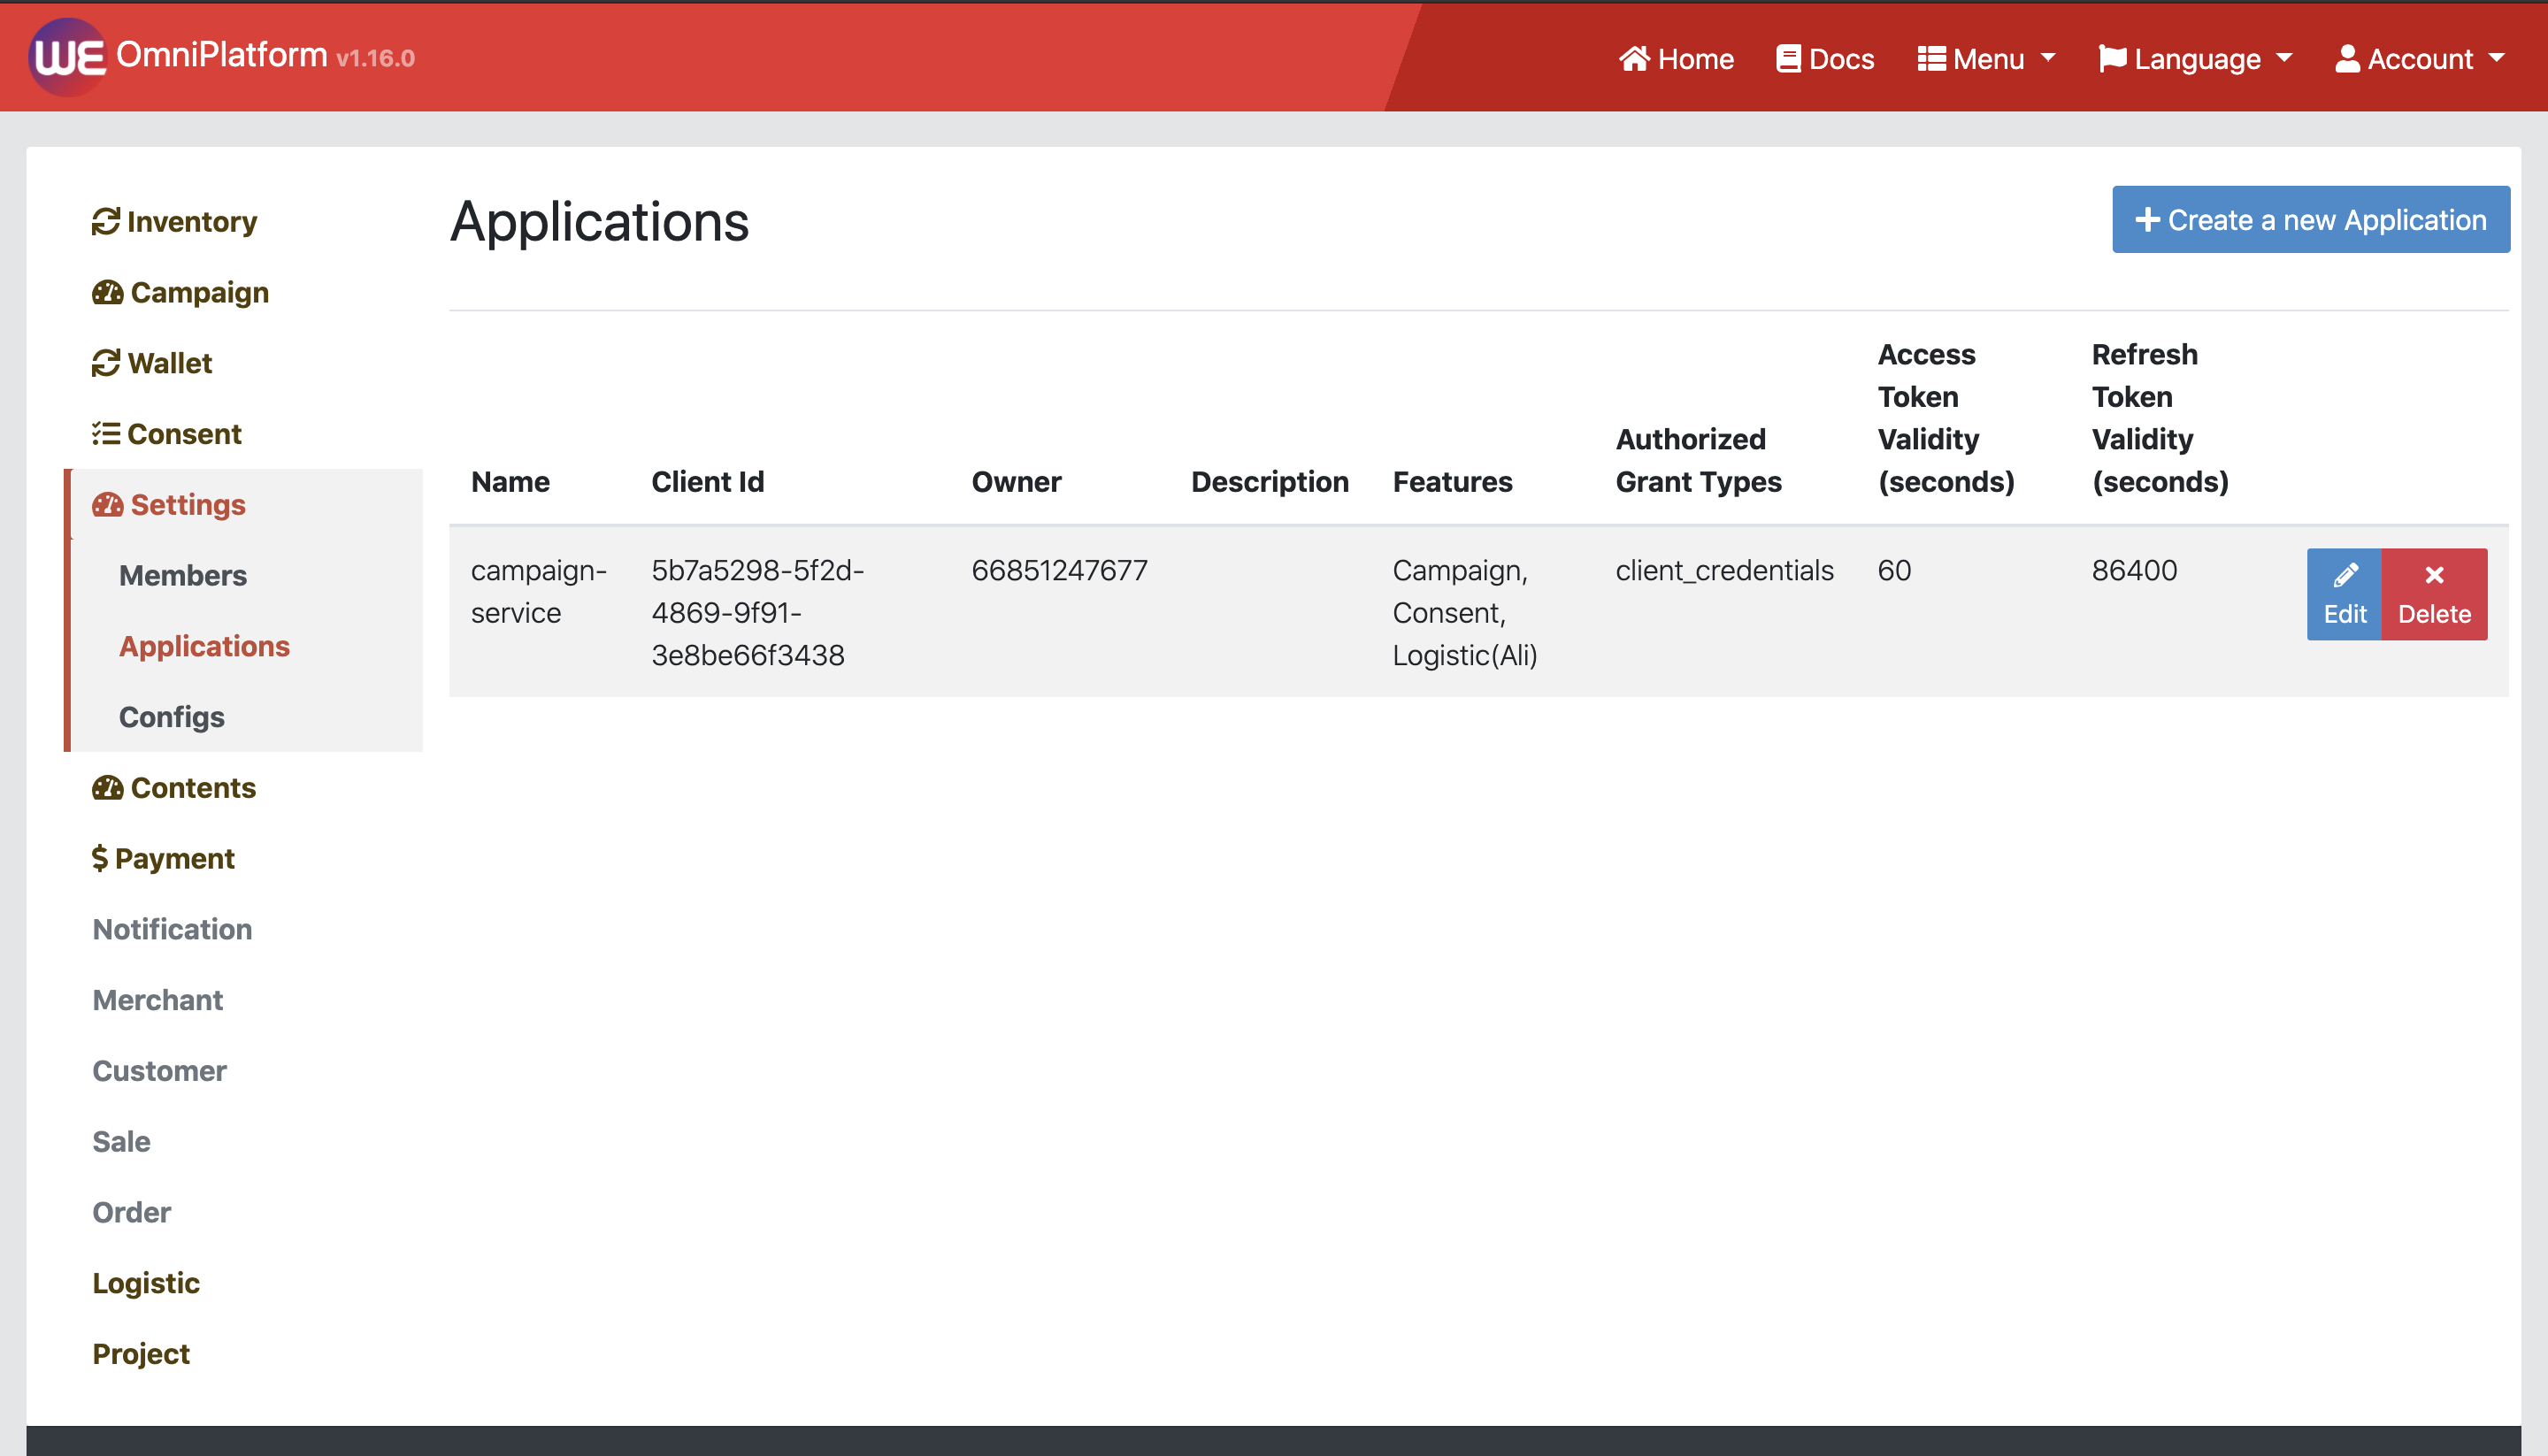
Now you will see your application displayed in Application list
# Editing an Application
To edit an application, click the button "Edit" on the right side of the record.

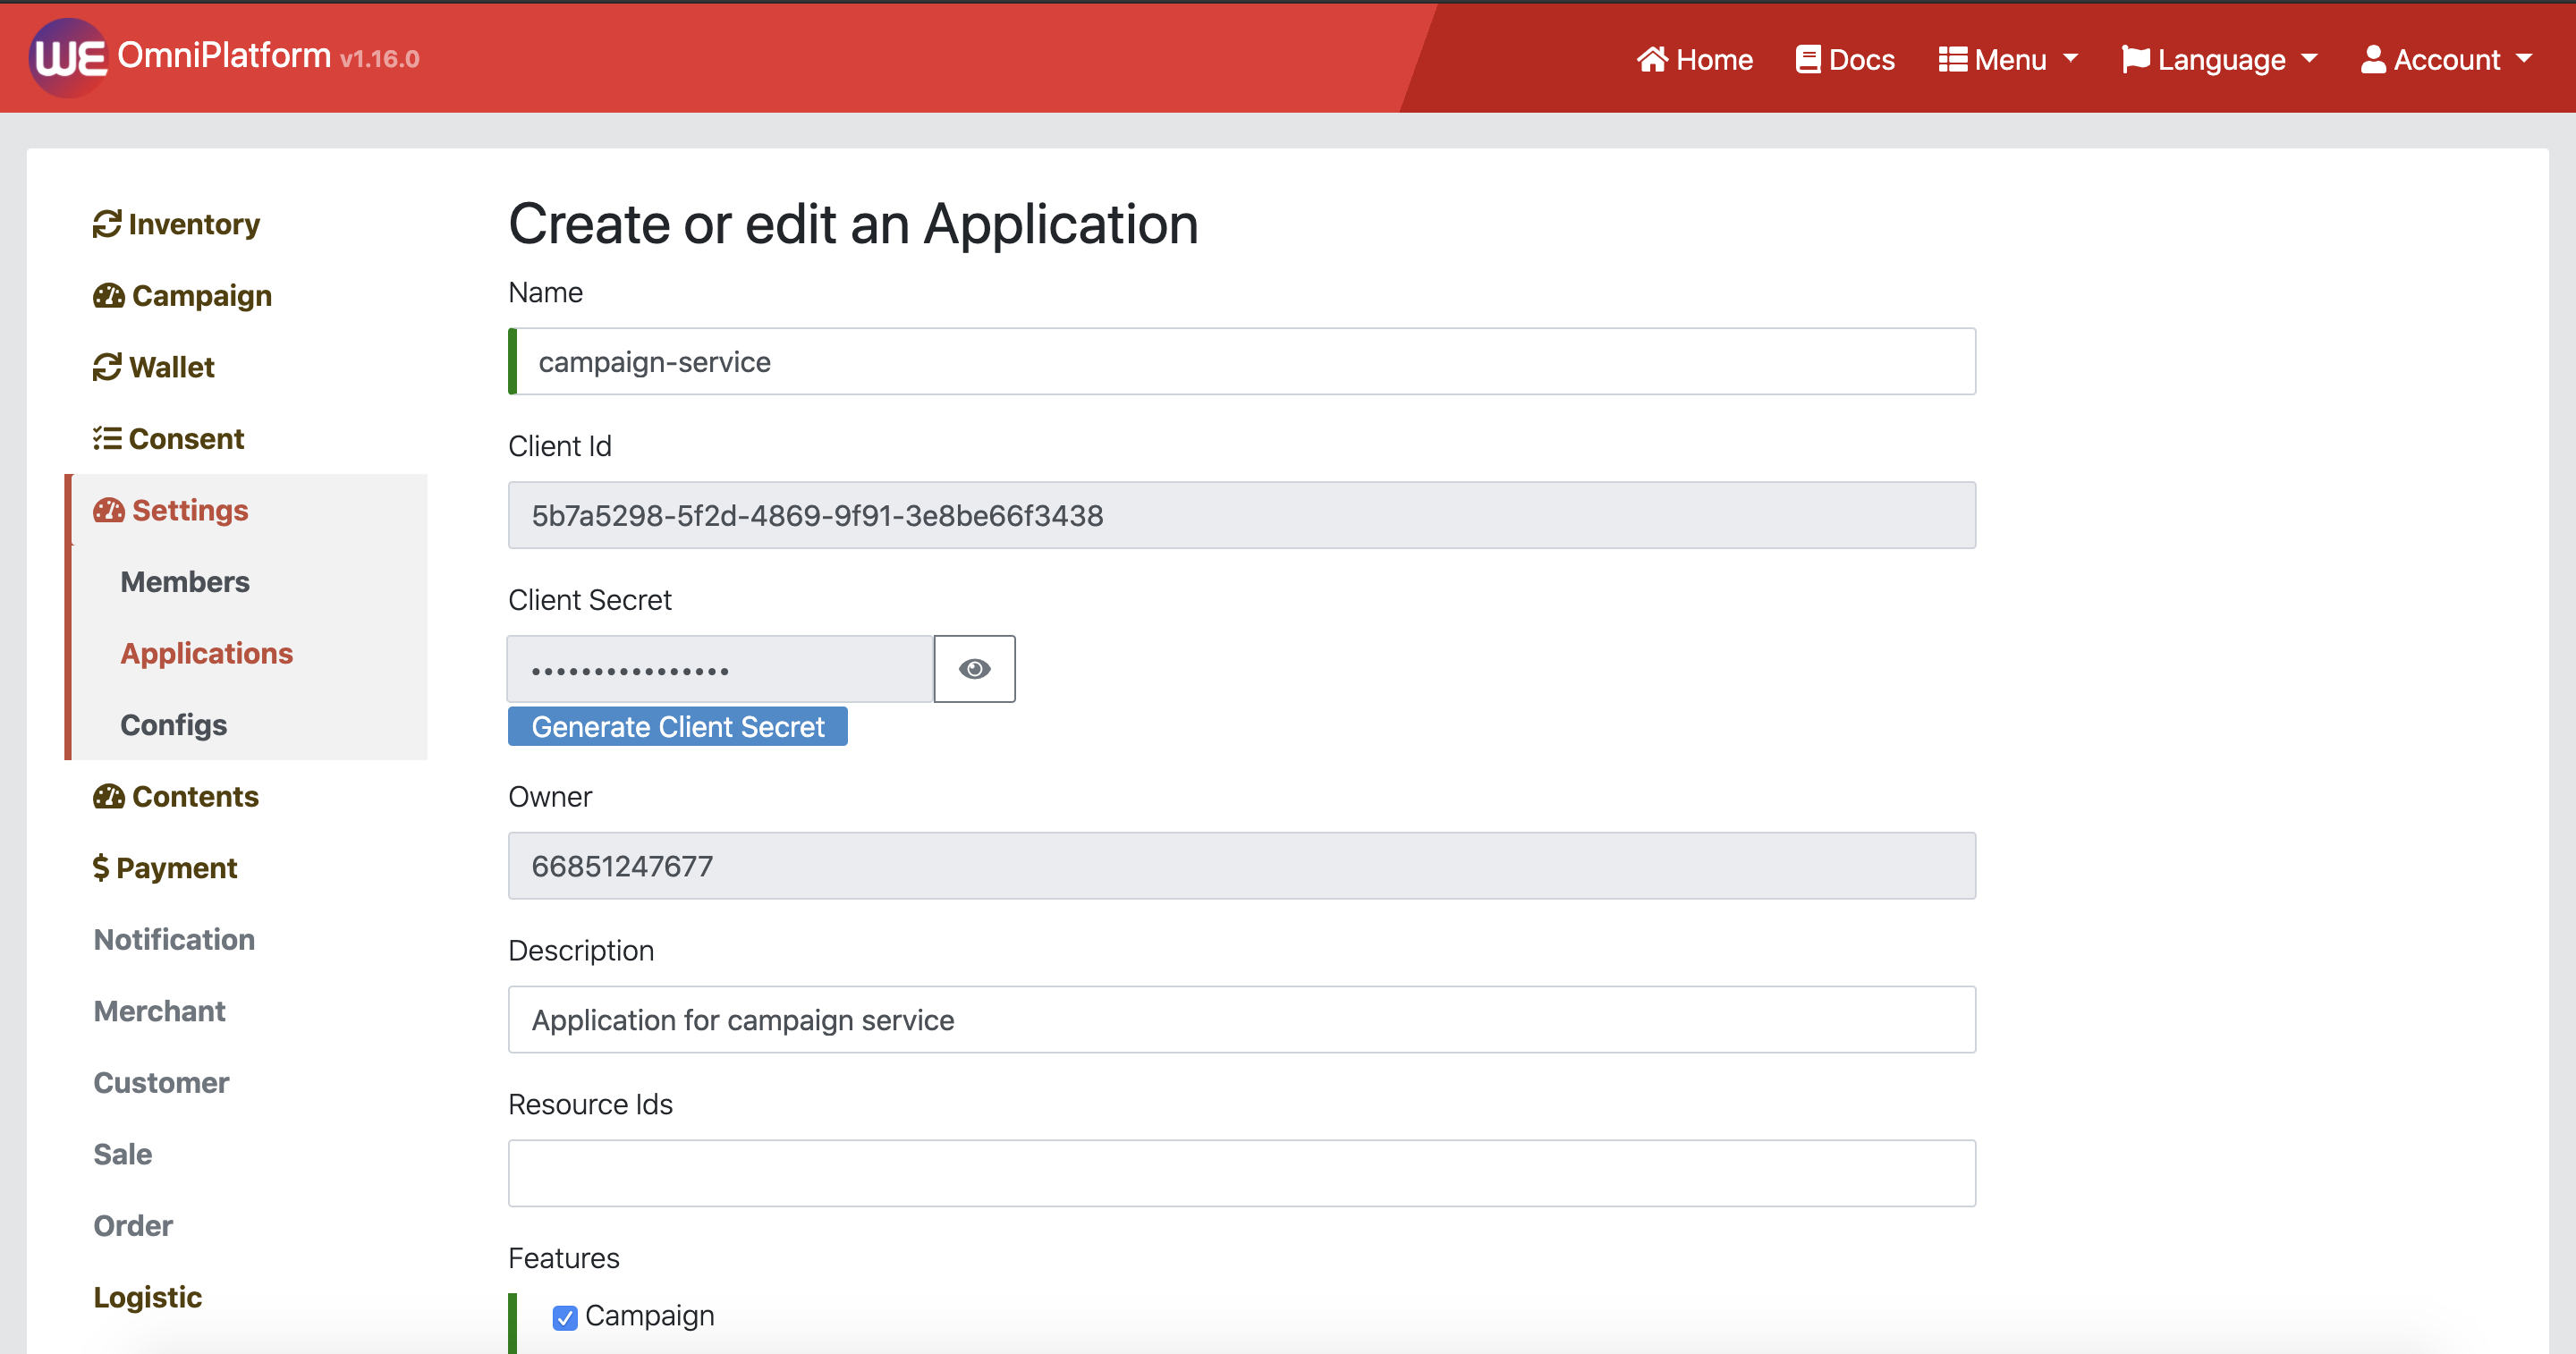
Edit the application in the form and save.
# Deleting an Application
To delete an application, click the button "Delete" on the right side of the record.
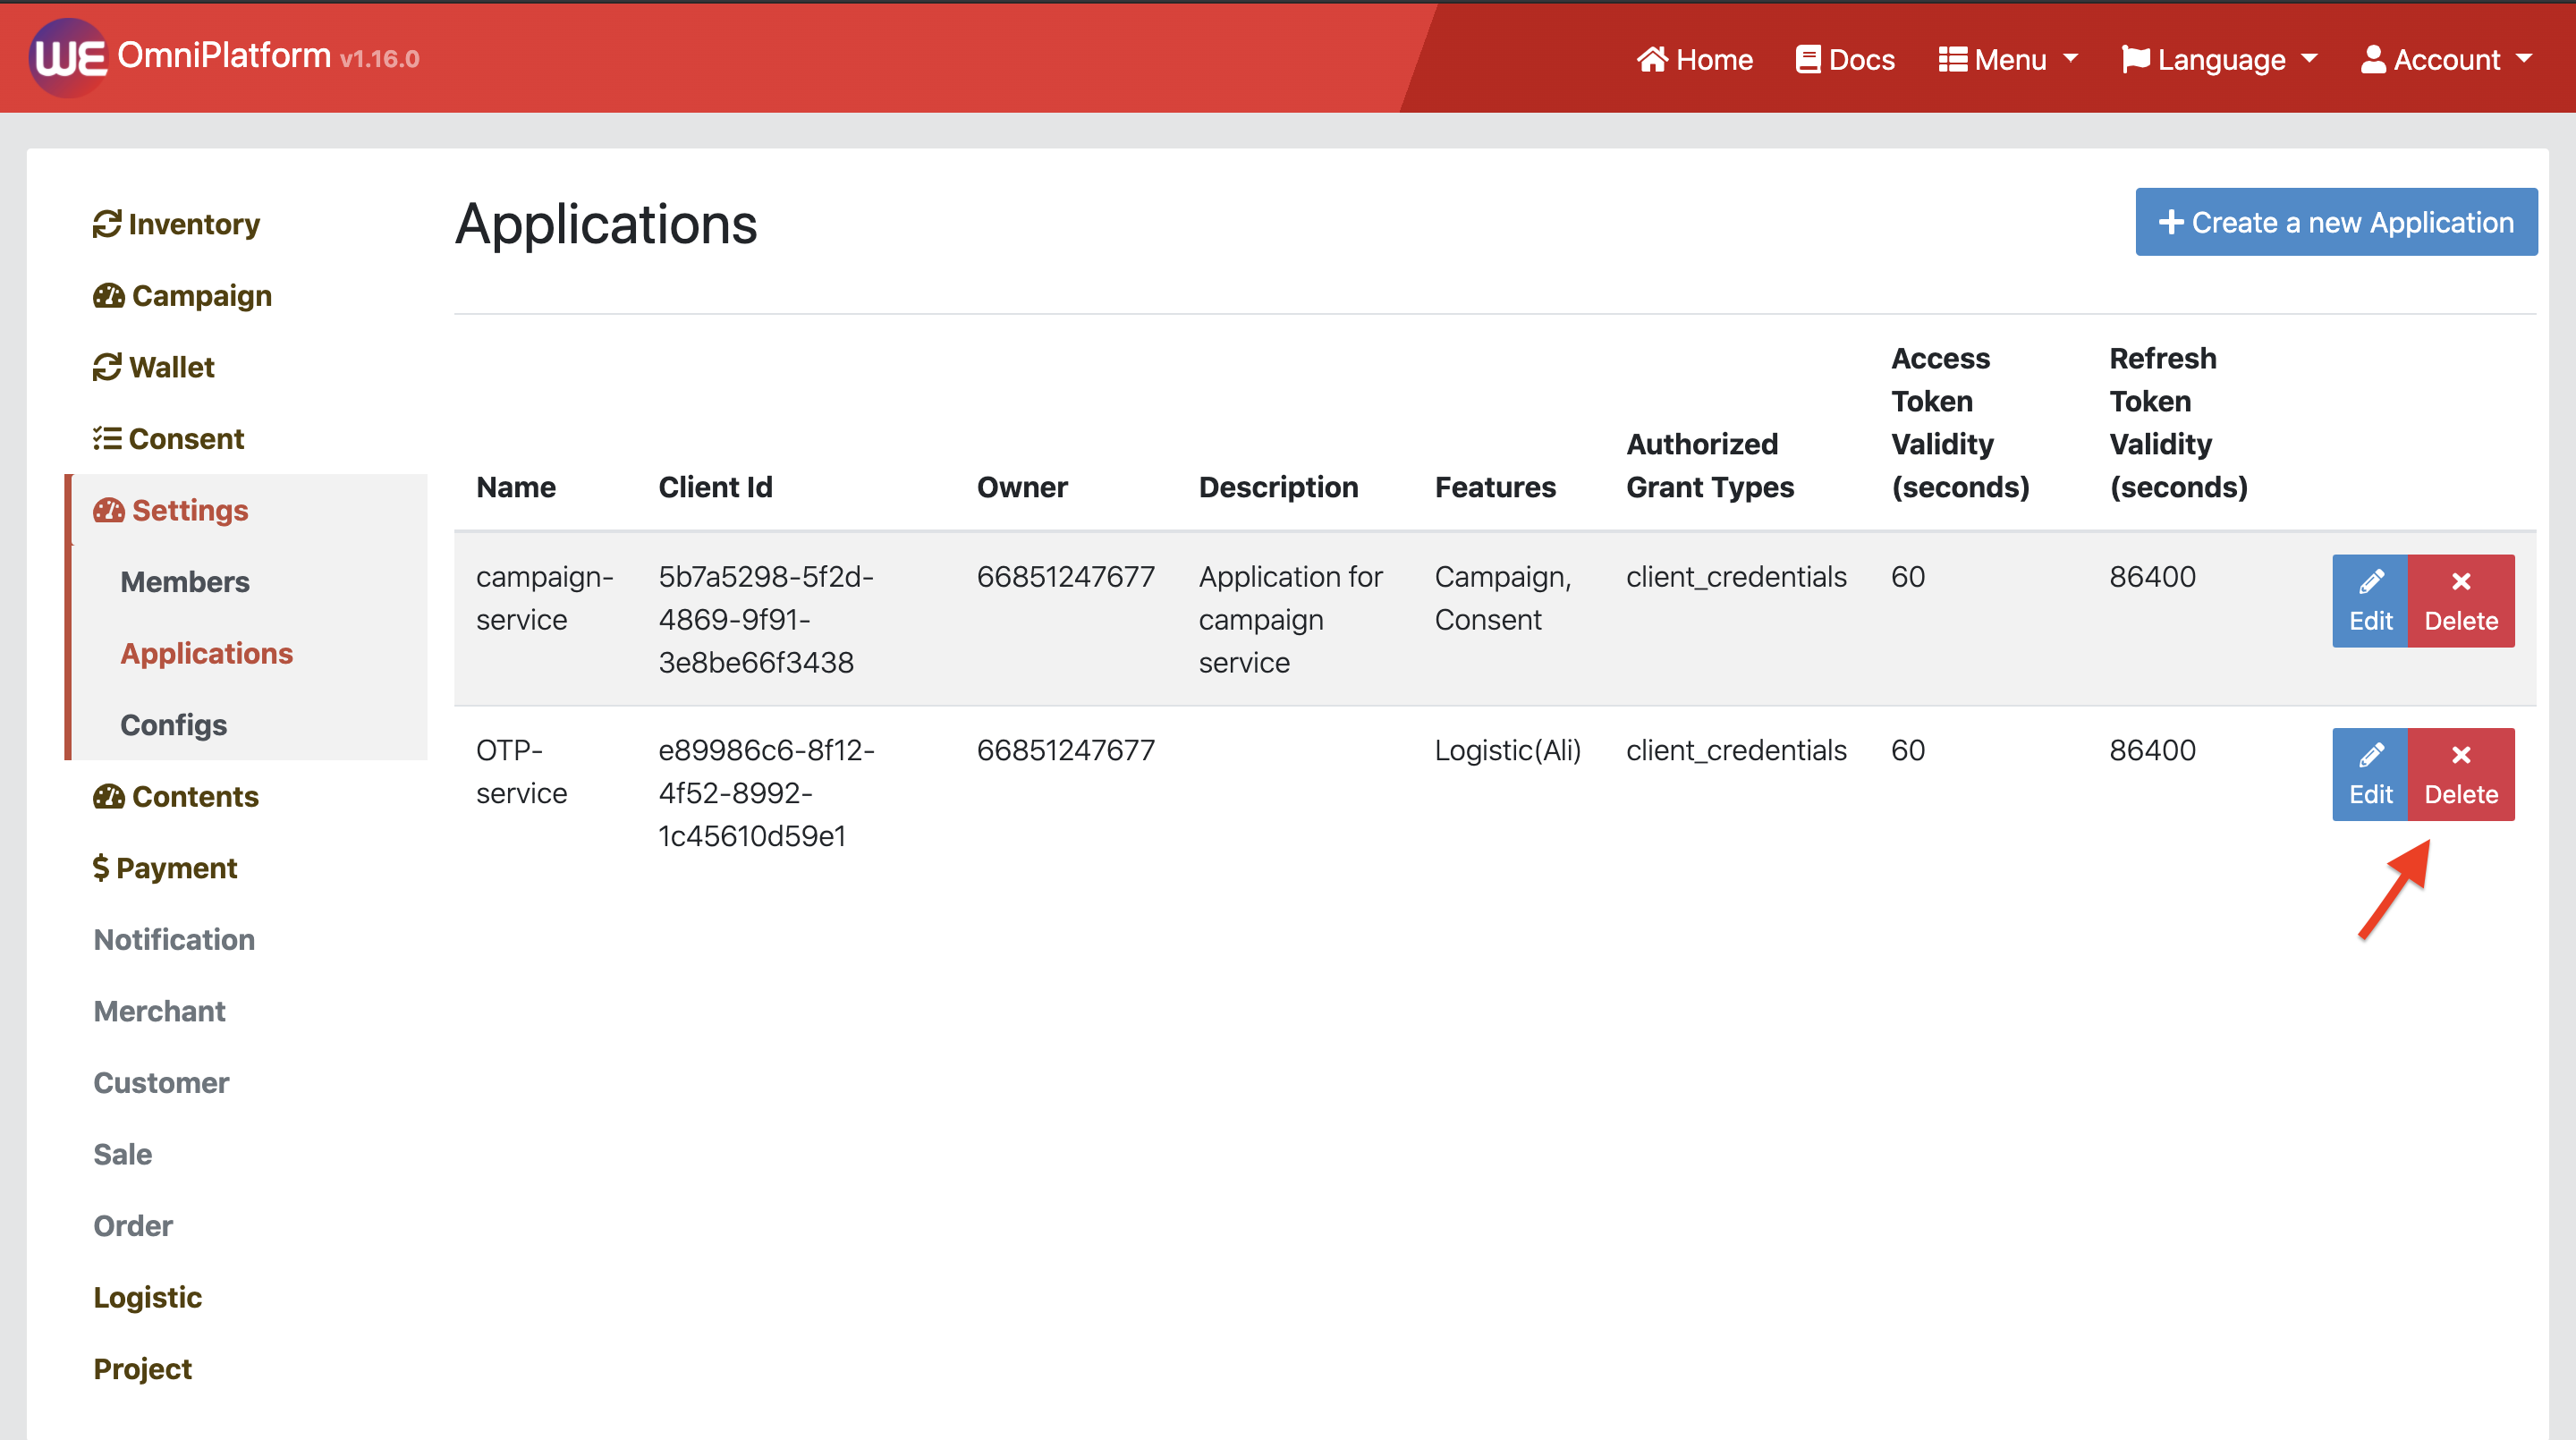
You will see the confirmation dialog, click "Delete" to proceed.

The application will be deleted permanently.
